How to Set Up Google Products for WooCommerce: A Step-by-Step Guide
Integrating your WooCommerce store with Google’s suite of products can drastically enhance your online store’s visibility, drive more traffic, and boost sales. Whether you want to showcase your products in Google Shopping, optimize your website for better search rankings, or make your store more accessible on mobile devices, Google offers a wide range of tools to help you achieve these goals.
In this guide, we will walk you through the essential steps to set up Google products for your WooCommerce store, including setting up Google Merchant Center, linking your store to Google Ads, and more. By the end of this article, you’ll be ready to leverage the power of Google to grow your eCommerce business.
Why Integrate Google Products with WooCommerce?
Before diving into the steps, it’s important to understand the benefits of integrating Google’s products with your WooCommerce store:
- Google Shopping Ads: With your products available on Google Shopping, you can advertise your items to a highly-targeted audience.
- Improved Search Visibility: Google Search is the most used search engine globally. By syncing your WooCommerce store with Google’s products, you increase your chances of being discovered by potential customers.
- Performance Tracking: Google Analytics, along with Google Ads, lets you track the performance of your ads, website traffic, and sales, giving you data-driven insights to refine your marketing strategy.
- Mobile Optimization: With Google’s Mobile Search and Shopping features, your products become accessible to customers browsing via their mobile devices.
Now, let’s get started!
Step 1: Install and Set Up WooCommerce Google Product Feed Plugin
The first thing you need is a reliable plugin to sync your WooCommerce store with Google’s systems. One of the most popular options is the WooCommerce Google Product Feed Plugin.
Install the Plugin
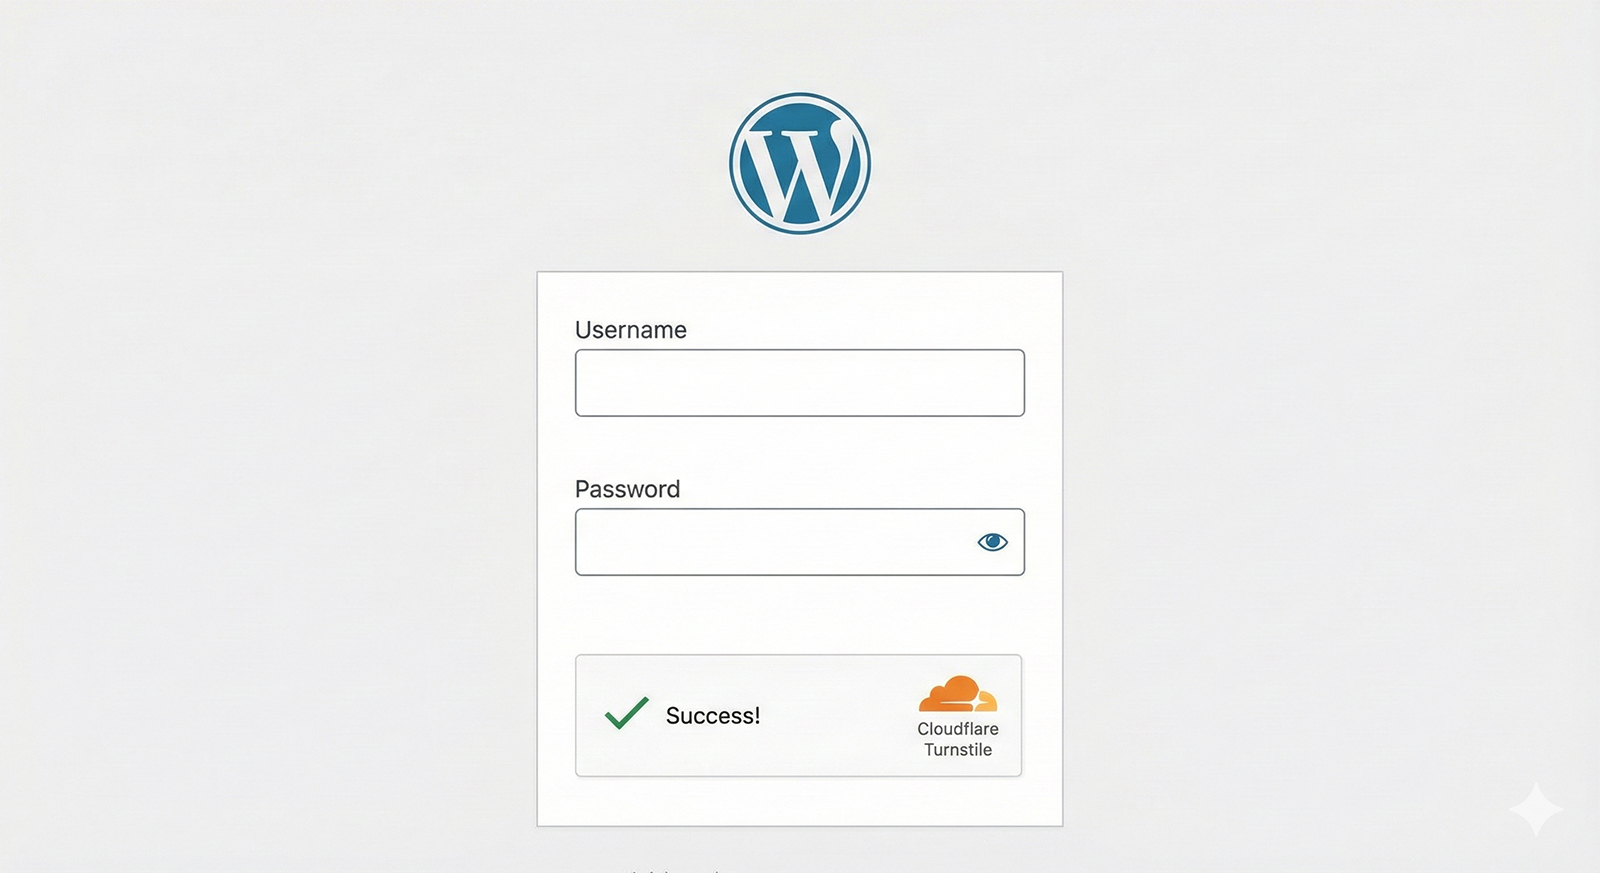
- Log in to your WordPress admin panel.
- Navigate to Plugins > Add New.
- Search for “WooCommerce Google Product Feed”.
- Click Install Now and then Activate.
Configure the Plugin
Once the plugin is activated, you’ll need to configure it:
- Navigate to WooCommerce > Settings > Product Feeds.
- Set up the feed by choosing Google as the target destination.
- Customize the product feed settings (e.g., feed name, product category mapping, currency, etc.).
- Choose whether to create a manual or automatic feed update. Automatic updates are ideal for syncing your product catalog with Google Merchant Center in real time.
- Save your settings.
Step 2: Create a Google Merchant Center Account
Google Merchant Center is where you manage your product data for use in Google Shopping, Google Ads, and other Google services. Here’s how to set it up:
- Go to the Google Merchant Center website.
- Click on Get Started or Sign Up.
- Follow the prompts to sign in with your Google account and enter details about your business, including your store name and website URL.
- Once you’ve created your Merchant Center account, Google will ask you to verify your website. To do this, simply add the provided HTML tag to the
<head>section of your website, or use the Google Analytics option if you already have it set up.
Once verified, you can start syncing your products.
Step 3: Link WooCommerce to Google Merchant Center
Now that your Google Merchant Center account is ready, the next step is to link it to your WooCommerce store via the Google Product Feed Plugin you installed earlier. Here’s how:
- In the Google Product Feed Plugin Settings, locate the Google Merchant Center section.
- Enter your Merchant ID (you can find this in your Google Merchant Center account under Settings > Account Settings).
- Select the appropriate Google Ads account (if you’re using Google Ads) and link it to your Google Merchant Center account.
This will ensure that your product feed is sent from WooCommerce directly to Google Merchant Center.
Step 4: Set Up Product Data in Google Merchant Center
The Google Merchant Center relies on detailed product information, such as product titles, descriptions, prices, availability, and images. The plugin automatically generates a feed that contains all this information, but you may need to customize certain fields for optimal performance.
Here’s how you can enhance your product feed:
- Product Titles and Descriptions: Ensure that your titles and descriptions are keyword-optimized and aligned with the search terms your target customers are using.
- Product Categories: Google has a set of predefined product categories that you should use to classify your items. You can either manually categorize products or let the plugin auto-assign them based on product type.
- Product Images: Make sure you have high-quality images for each product, as these will be used in your Google Shopping ads and listings.
- Pricing and Availability: Double-check that all product prices and stock availability are accurate and up to date.

Step 5: Set Up Google Ads for WooCommerce
Now that your product feed is live in Google Merchant Center, you can run Google Ads campaigns to promote your products. Here’s how to set up Google Ads for WooCommerce:
Link Google Ads to Merchant Center
- Go to your Google Merchant Center account.
- Navigate to Tools & Settings > Linked Accounts and click Google Ads.
- Click Link and select your Google Ads account.
Create a Google Shopping Campaign
- Log in to your Google Ads account.
- Go to Campaigns > Create Campaign.
- Select Sales as your goal, then choose Shopping as the campaign type.
- Choose your Merchant Center Account.
- Define your target audience, budget, and bid strategy (e.g., Manual CPC or Smart Shopping).
- Set up your product groups, choosing to segment by attributes like product category or brand.
After setting up your campaign, Google will automatically start displaying your products in relevant search results and shopping ads.
Step 6: Monitor and Optimize Your Performance
Once your Google Shopping campaign is running, it’s time to track performance and optimize your efforts.
- Google Analytics: Integrate Google Analytics with WooCommerce to track user behavior, conversion rates, and more.
- Google Merchant Center Diagnostics: Regularly check the Diagnostics section in your Merchant Center to ensure there are no errors in your product feed.
- Campaign Performance: Use Google Ads reporting tools to track the success of your campaigns. Adjust your bidding, product feed, and targeting as needed.
Step 7: Stay Updated with Google’s Policies
Google’s policies on shopping ads and merchant requirements are updated frequently. Keep an eye on changes to ensure your account remains compliant and that your ads continue to run smoothly.
- Review Google’s Product Data Specifications regularly to make sure your product information is accurate and up-to-date.
- Stay informed about updates to Google’s Advertising Policies.
Conclusion
Setting up Google products for your WooCommerce store may seem like a lot of work at first, but the long-term benefits far outweigh the initial setup time. By connecting your WooCommerce store with Google Merchant Center, Google Ads, and Google Analytics, you’ll have a powerful ecosystem to drive traffic, increase sales, and optimize your eCommerce strategy.
With the right configuration and ongoing optimization, you can tap into the full potential of Google’s vast audience and grow your business in ways that were once reserved for large, tech-savvy enterprises.
Get started today and watch your WooCommerce store soar to new heights with the power of Google!


