Managing user roles in WordPress is essential for maintaining control over your site. Whether you’re adding a team member, a developer, or a backup admin, here’s how to create a new admin user safely and efficiently.
🛠️ Step-by-Step Guide
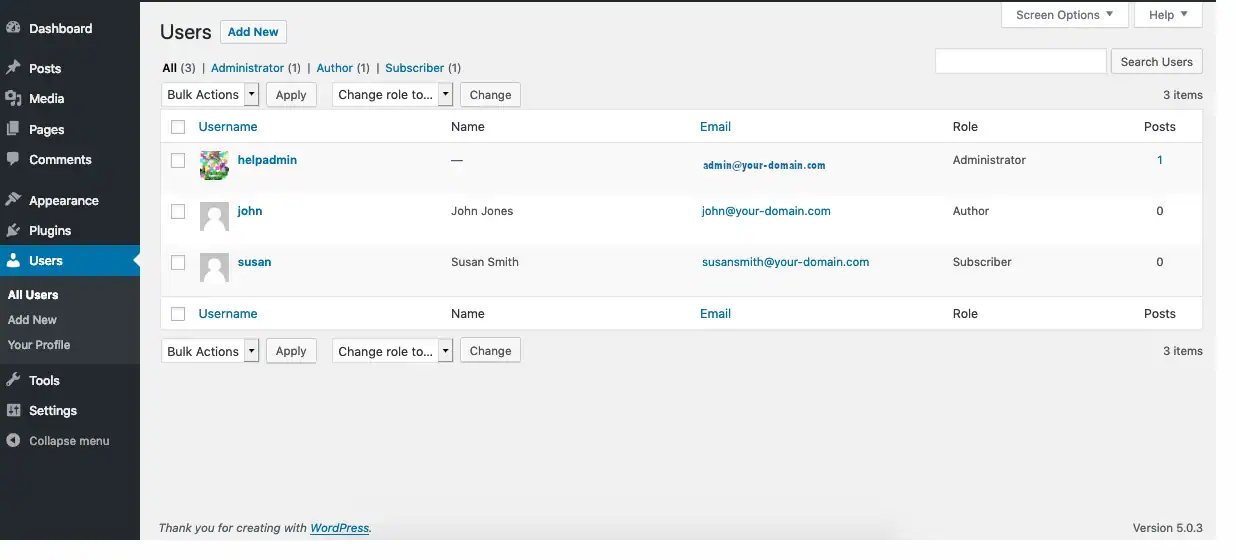
1. Log In to Your WordPress Dashboard
Go to yourdomain.com/wp-admin and log in with your existing admin credentials.
2. Navigate to the Users Section
From the left-hand menu, click on:
Users > Add New
3. Fill Out the New User Details
You’ll see a form with the following fields:
- Username (required): This will be the login name.
- Email (required): Must be unique and valid.
- First Name / Last Name (optional): Helpful for identification.
- Website (optional): Can be left blank.
- Password: Click “Show password” to view or customize it.
- Send User Notification: Check this box to email login details to the new user.
4. Assign the Role: Administrator
From the Role dropdown, select Administrator. This gives full access to all site settings, content, and plugins.
⚠️ Important: Only assign this role to trusted individuals, as admins can modify or delete anything on the site.
5. Click “Add New User”
Once all fields are filled out, click the Add New User button at the bottom.
Your new admin user is now active and can log in immediately.
✅ Final Tips
- Use strong, unique passwords for all admin accounts.
- Limit the number of admin users to reduce security risks.
- Consider enabling two-factor authentication (2FA) for added protection.